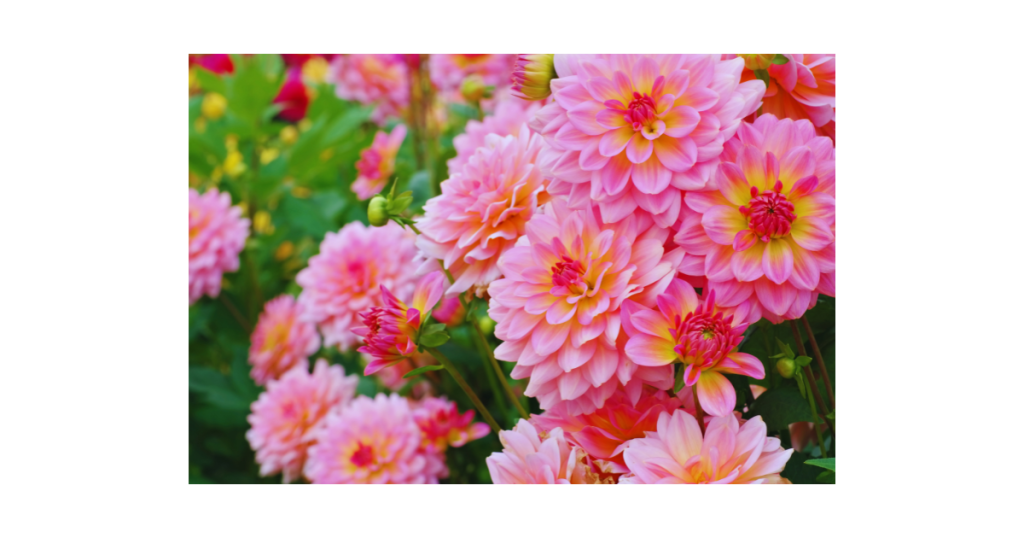
Dahlias stand out as stunning focal points in any garden, bringing vibrant energy to their surroundings. With a selection of over 60,000 varieties and 18 recognized flower forms, there is a dahlia to suit every taste and preference.
These beautiful flowers, known for their diverse colors and intricate patterns, have captured the hearts of gardeners worldwide. Whether you prefer the classic elegance of dinner plate dahlias or the whimsical charm of pompon dahlias, there is a variety that will surely speak to your individual style.
Dahlias are not only visually captivating but also easy to care for, making them a popular choice for both seasoned gardeners and beginners alike. Their impressive range of colors, from soft pastels to bold hues, allows for endless creative possibilities when designing your garden.
Adding dahlias to your garden can instantly elevate its aesthetic appeal and create a vibrant focal point that is sure to draw admiration from visitors. So why not enhance your outdoor space with the beauty and versatility of dahlias and watch as your garden transforms into a colorful oasis of joy and inspiration.
As Dahlias are native to the warm climate of the high plains of Mexico these plants are sun-loving and will not tolerate any frost. This means you need to wait until there is not more risk of frost before planting, that the soil is 60°F (15°C) before planting. Best time to plant is in late spring, which is perfect because by then all the winter cleanup in the garden is finished and you will find the perfect growing places for your show-stopping dahlias!
When planting make your hole 5-6” deep, use bone meal and compost when planting to give nutrients to the tuber. Ensure you have placed them in a location which receives 6-8 hours of sun. You can test your soil as well as dahlias prefer a pH of 6.0-7.5. Plant your dahlia tubers “eyes” up and cover with 2-3” soil only. As they begin to sprout you can slowly fill in the hole with soil until it is a ground level. Water after spouting not before to avoid rot. Dahlias prefer loose soil with good drainage so if you need to loosen up a heavy clay soil, amend with manure or compost to lighten and loosen soil. Do not mulch your dahlias as their roots prefer to feel the sun. Remember to stake larger plants as they grow to give the extra support.
As your dahlias come in a variety of sizes from dwarf to dinner plate it is important to plant them with enough room to grow.
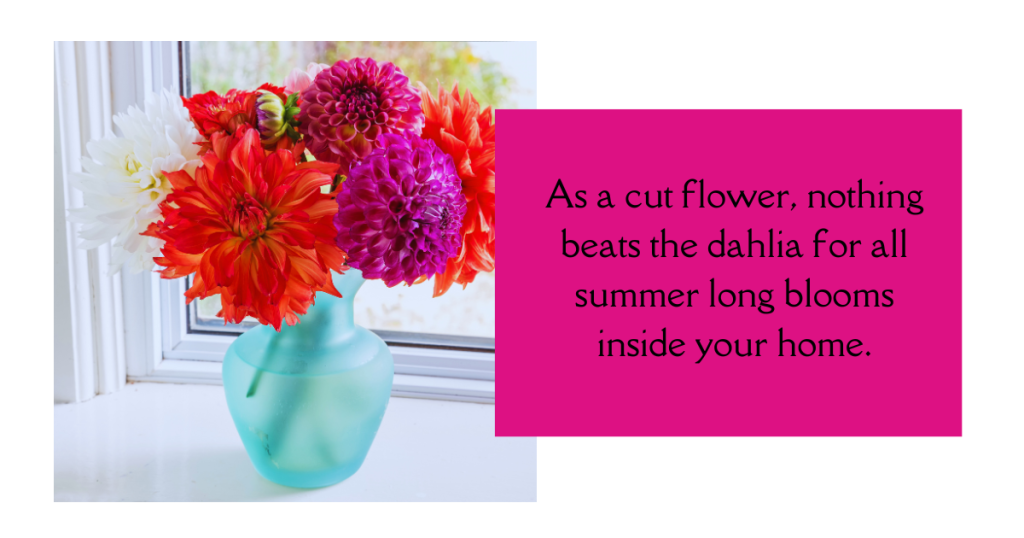
Planting for Cutting
Dwarf Tubers – Plant 9-12” apart.
Medium to low, dahlias in the 3’ range – Plant 24” apart.
Large Dinner Plate dahlias – Plant 36” apart.
When not planning to cut your dahlias as much you can plant them closer together to create a fuller grouping of blossoms.


Once your tubers have finally pushed their way out of the ground and are making their way towards the sun there is some important care you can provide in order for dahlias to bloom their best. You can fertilize every 3-4 weeks at full strength or every 1-2 weeks at half strength. Use a low nitrogen, liquid fertilizer, 5-10-10. It is important not to use too much nitrogen or you will end up with small, weak blooms or even none at all!
Once your sprouts have reached one foot tall you can pinch them out. Pinch out 3-4 inches of the centre branch to encourage fuller growth and increase stems and flowers. To stimulate larger flowers, remove the two smaller buds next to the central one in a flower cluster allowing the plant to put more energy into fewer blooms.


Here in Powell River we need to dig up our dahlia tubers in fall and store them to protect them from frost damage until the following spring. You will know when to dig them up because it will be directly after the first frost. All the foliage will begin to turn black, and this means it is time to store the tubers.
Storing steps


If you enjoy reading and learning about gardening, pets, and more consider subscribing to our newsletter where you will be the first to know when a new article is published. We will also keep you up to date on what’s new, exciting and for sale in the store as well!
Be the first to find out about new arrivals, in store only specials, flyer sales, workshops and more! Subscribe to our weekly newsletter.